USPS Form 1583 explained: identification, verification and common mistakes
Published
When you open a US virtual mailbox, the provider will usually ask you to complete USPS Form 1583 before it can process your mail.
The form authorises a commercial mail-receiving agency to receive correspondence on your behalf. It is part of setting up the mailbox—not an application to establish residence at that address.
This guide focuses on personal mailbox accounts, including people preparing for RV travel or living abroad.
We may earn a commission if you sign up through links in this guide.
What does Form 1583 actually do?
Its official name is Application for Delivery of Mail Through Agent. It records who you are and the agency receiving mail for you.
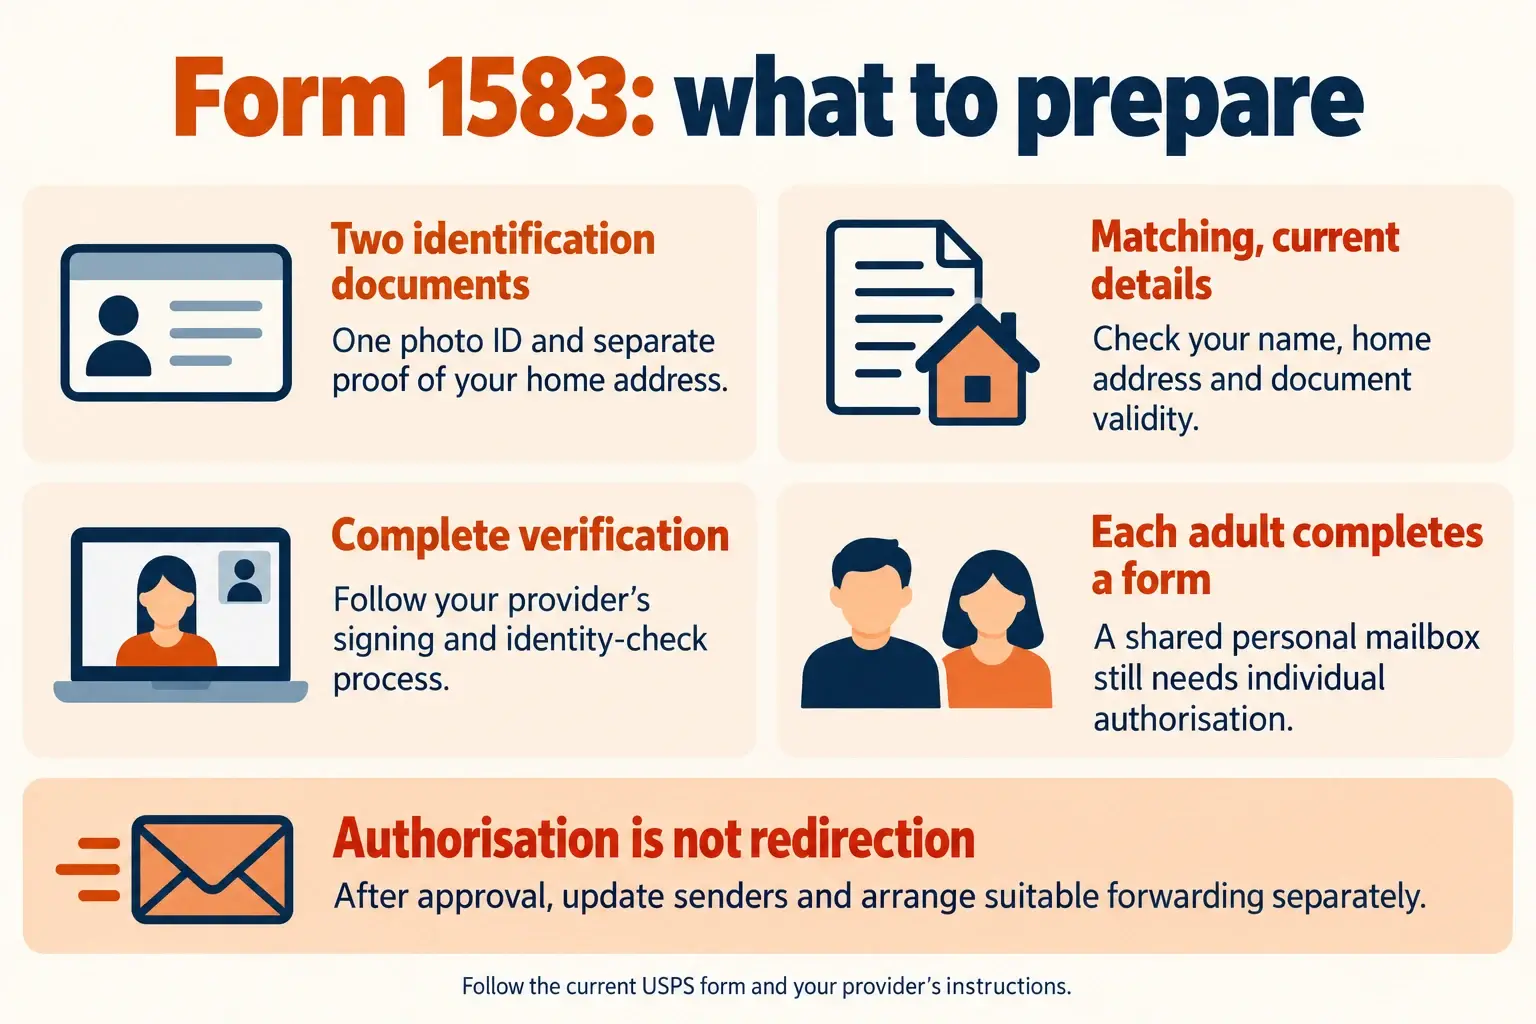
Completing it does not redirect mail from your previous address. You still need to update senders or arrange appropriate forwarding separately. Traveling Mailbox explicitly distinguishes those tasks in its setup guidance.
Think of setup as three separate jobs:
- Open the mailbox account.
- Complete identification and authorisation.
- Tell senders where your mail should go.
Our virtual mailbox setup checklist covers the whole process.
What identification do you need?
Prepare two acceptable identification documents: one government-issued photo ID and another confirming your home address. The same driver’s licence cannot serve as both documents.
Examples listed on the form include:
| Identification purpose | Examples |
|---|---|
| Photo identification | Passport or a US state driver’s/nondriver’s ID. |
| Address identification | Current lease, mortgage or deed of trust, home or vehicle insurance policy, vehicle registration card or voter card. |
These are examples, not the complete list. Use the current official USPS form and your provider’s instructions when preparing documents.
Don’t assume a bank statement or utility bill qualifies simply because another organisation accepted it as address evidence.
Which address should you enter?
Distinguish the provider’s delivery address from your own home address.
The form has separate sections for those details. Your home address must match the address-identification document.
For example, an overseas applicant should not put the newly purchased US mailbox into the home-address field simply because it is now their mailing address.
If your living arrangements make that field difficult to complete, discuss the situation with the provider before submitting. Don’t invent an address or select one purely to get past the application.
Does Form 1583 have to be notarised?
Not necessarily. USPS permits signing or confirming the signature in the physical or real-time video presence of the agency’s authorised representative. It also permits acknowledgment before an appropriately US-commissioned notary, physically or through real-time video.
The available process depends on the provider.
Traveling Mailbox describes a video-verification and electronic-signature option with its team, with notarisation as an alternative. Follow the instructions inside your account rather than arranging a separate appointment unnecessarily.
Before an appointment, have your documents ready and check that your camera and microphone work.
Can you complete it from outside the United States?
Being abroad does not automatically prevent setup. Traveling Mailbox states that non-US citizens and non-residents can use its service when they meet the identification requirements and complete Form 1583.
Prepare the photo-ID and address-evidence requirements separately. A passport may establish identity without proving where you currently live.
If your documents use another language or you are unsure whether a document qualifies, ask the provider to review that issue before booking verification. Avoid assuming that any local notary or document will be accepted.
Read Traveling Mailbox’s identification guidance.
Does everyone sharing the mailbox need a form?
For personal use, USPS requires a separate Form 1583 for each adult receiving mail, including spouses. An account’s recipient allowance does not replace that requirement.
List everyone who needs to receive correspondence when arranging the account, then follow the provider’s verification process for each person.
Common mistakes to avoid
Treating payment as completed setup
An assigned address does not necessarily mean verification is finished. Traveling Mailbox says it cannot process incoming mail until it has the completed form.
Wait for confirmation before relying on the account for important letters.
Using mismatched or expired documents
USPS requires current identification and matching application details. Resolve discrepancies with the provider before submitting.
Signing without following the verification instructions
Complete the signature step through the process your provider specifies. Uploading a signed document alone may not finish verification.
Forgetting to update senders
Authorisation and redirection are different tasks. Keep a separate list of organisations that need your new mailing details.
Leaving outdated information on file
When required information changes, USPS requires a new application with the agency. Contact your provider when your recorded details change.
Your preparation checklist
- Use the provider’s current setup process.
- Prepare separate photo and address identification.
- Check names, addresses and document validity.
- Arrange verification for each adult recipient.
- Follow the signing instructions.
- Wait for account approval.
- Update senders and test delivery.
Traveling Mailbox is our preferred service for remote mail access. If you’re still choosing a provider, explore its plans or compare estimated mailbox costs.
Once the paperwork is complete, the next step is practical: make sure your mail reaches the new address and you can access it.